Deathloop Slabs All Powers And Upgrades
In order to break the time loop, Colt must assassinate every visionary on Blackreef. Almost every visionary has their own slab, giving you access to five distinct abilities. You can only equip two additional slabs, forcing you to pick between your favourite powers. Some of the powers granted by the slabs may not appear to be great at first, but every slab can be upgraded up to four times to increase its power.
As long as you have enough residuum at the end of each day, you can infuse every slab you pick up to make your next run smoother. Here’s everything you need to know about the slabs in Deathloop.
There are eight visionaries on Blackreef – only six of them wield a slab, and Julianna technically doesn’t count because her slab can’t be used by anyone but her. There are five slabs in Deathloop to find and upgrade. It’s important to note that both Colt and Julianna are the only characters who are unable to upgrade their own slabs.
How to upgrade Deathloop slabs
To upgrade your slab, assassinate the same visionary up to five times in a different time loop. For example, once you obtain a new slab and you infuse it, you unlock the ability to upgrade your slab when you acquire a second copy of it. You have access to four upgrades, but you can only use two of them at any given time.
Shift Slab
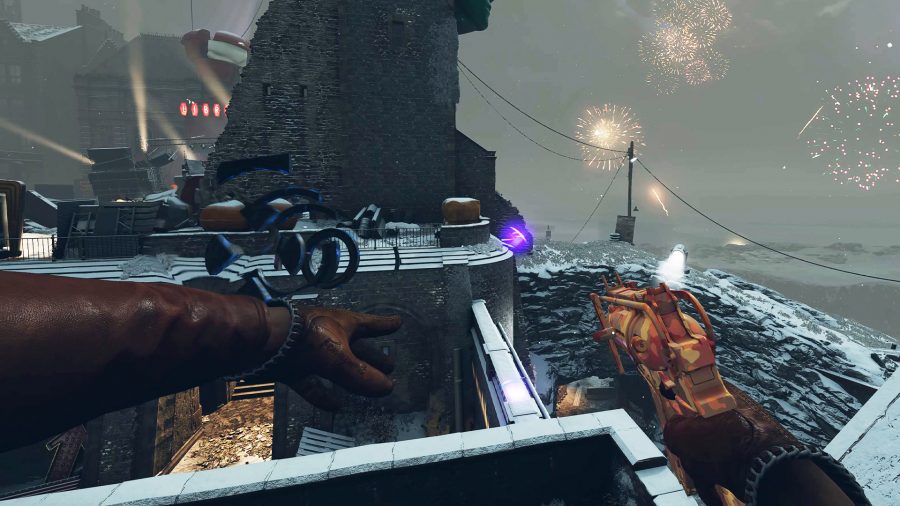
The shift slab allows you to teleport across short distances. This power is extremely useful as it allows you to bypass most enemies by teleporting right past them. The AI needs to spot you for several seconds before they’re alerted, but you should be able to teleport multiple times within that short timeframe.
Charlie Montague holds the shift slab – he can be found in Updaam at noon.
Here are all of the shift slab upgrades:
Airborne – slow down time when you activate shift in mid-air Dropkick – while in the middle of a shift animation, press kick to damage enemies with a sonic boom Reach – your teleport reaches further distances Swapper – use your teleport to swap places with an enemy
Aether Slab
Use the aether slab to briefly turn invisible, allowing you to avoid detection from lasers and enemies. This ability is lacklustre when you first acquire the slab as the duration is far too short, but this power can be transformed once you start upgrading it. If you enjoy playing stealthily, the aether slab makes you completely undetectable.
Egor Serling wields the aether slab – you can find him in The Complex in the evening.
Here are all of the aether slab upgrades:
Erase – killing enemies while invisible no longer leaves behind a corpse Flicker – enemies can see you while you attack, but you instantly turn invisible afterwards Ghost – standing still stops aether from using any power, allowing you to stay invisible indefinitely Phase – you won’t lose your invisibility if you take damage, and you receive less damage while invisible
Nexus Slab
The nexus slab allows you to link all nearby enemies together so that when one of them takes damage, the entire group takes damage. The link cannot be seen by enemies and can be thrown from a distance – as long as multiple enemies are congregating in the same area, they will link together.
Harriet Morse is the keeper of the nexus slab – you can find her in Karl’s Bay in the morning.
Here are all of the nexus slab upgrades:
Attraction – the nexus projectile can hone into enemies Influence – enemies affected by the nexus slab can create their own influence chains Parasite – damaging enemies under nexus control restores health Protraction – drain less power when using the nexus
Havoc Slab
Activating the havoc slab increases your damage and lessens any incoming damage, giving you the power of super strength. The havoc slab is definitely the least flashy out of the lot of them, but it’s well worth using if you enjoy getting into fights. Use the super strength ability just as you enter combat to take down enemies faster and avoid taking lethal amounts of damage.
Fia Zborowska holds onto the havoc slab – you can find her in Fristad Rock at noon.
Here are all of the havoc slab upgrades:
Backlash – you emit a grenade-like blast when havoc’s power runs out Bulwark – attacking enemies while havoc is active no longer drains energy, but the power overall drains faster and slows down your movement speed Euphoria – your damage output is increased when receiving damage while havoc is active Withdrawal – gain energy when damaging enemies with havoc
Karnesis Slab
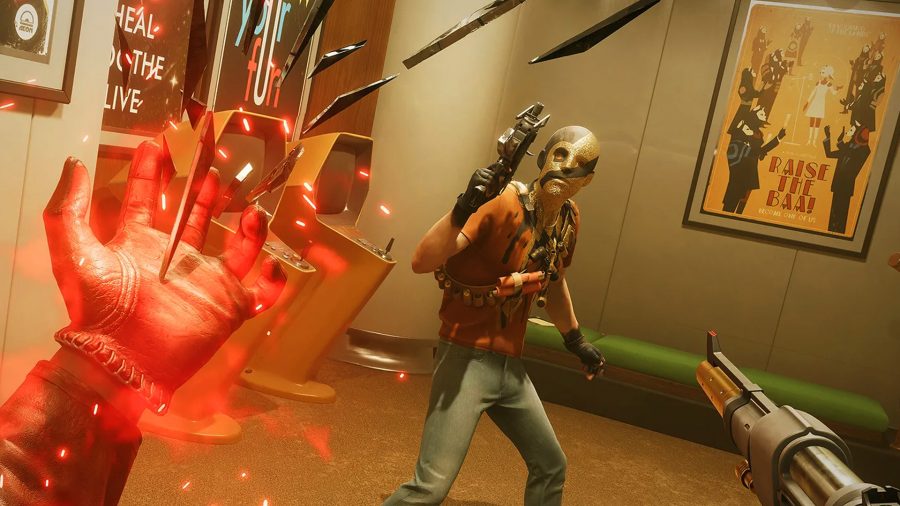
You can throw enemies around using the karnesis slab which gives you the power of telekinesis, but it only works on enemies. This slab is perfect for action-focused players who want to cause a scene and ensure there are no survivors on the map. Think of the karnesis slab as a grenade launcher to truly get the most out of this destructive power.
Aleksis Dorsey owns the karnesis slab – you can find him in Updaam in the evening.
Here are all of the karnesis slab upgrades:
Flesh Bomb – enemies sent flying using karnesis explode like a grenade upon landing Slam – a second blow from karnesis slams enemies into the ground Suspension – activating karnesis on nearby enemies leaves them hovering helplessly in the air Zone – push all enemies away using karnesis
Experiment with different combinations of slabs in Deathloop to discover powerful builds to suit your style of play. If you’re having trouble running the game at a stable frame rate, be sure to check out our Deathloop best PC settings guide for some helpful advice. Unsure where to find the code to enter Colt’s safe? Read our latest guide on Deathloop safe codes to figure out exactly what you have to do.